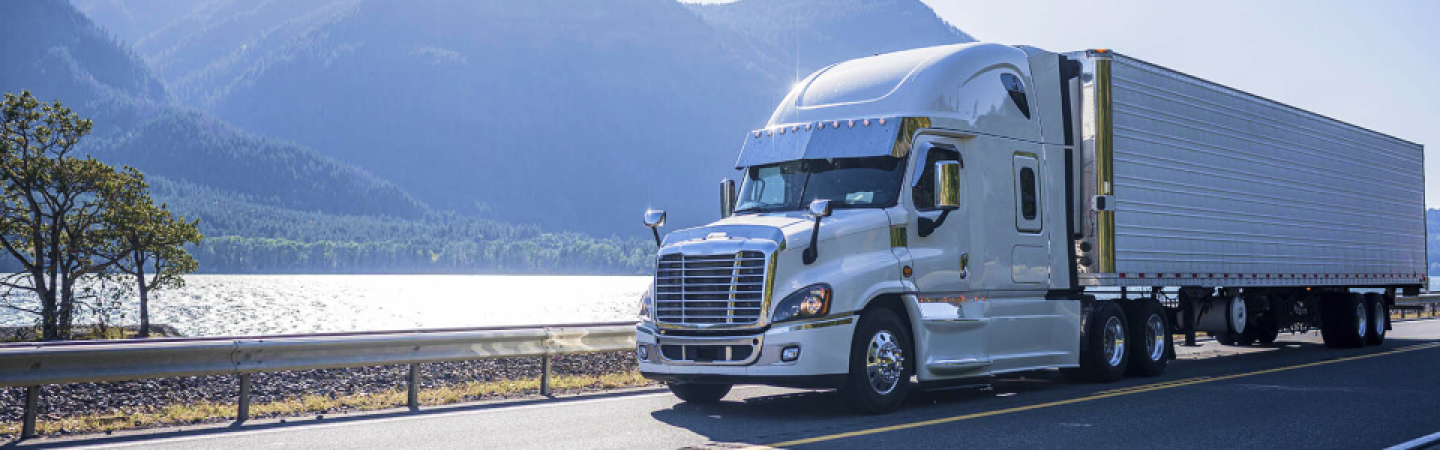
Комплексний посібник з розробки та обслуговування програмного забезпечення для управління автопарком
Готове програмне забезпечення для управління автопарком не було розроблено для вашого автопарку. Воно було створено для всіх — і це саме проблема.
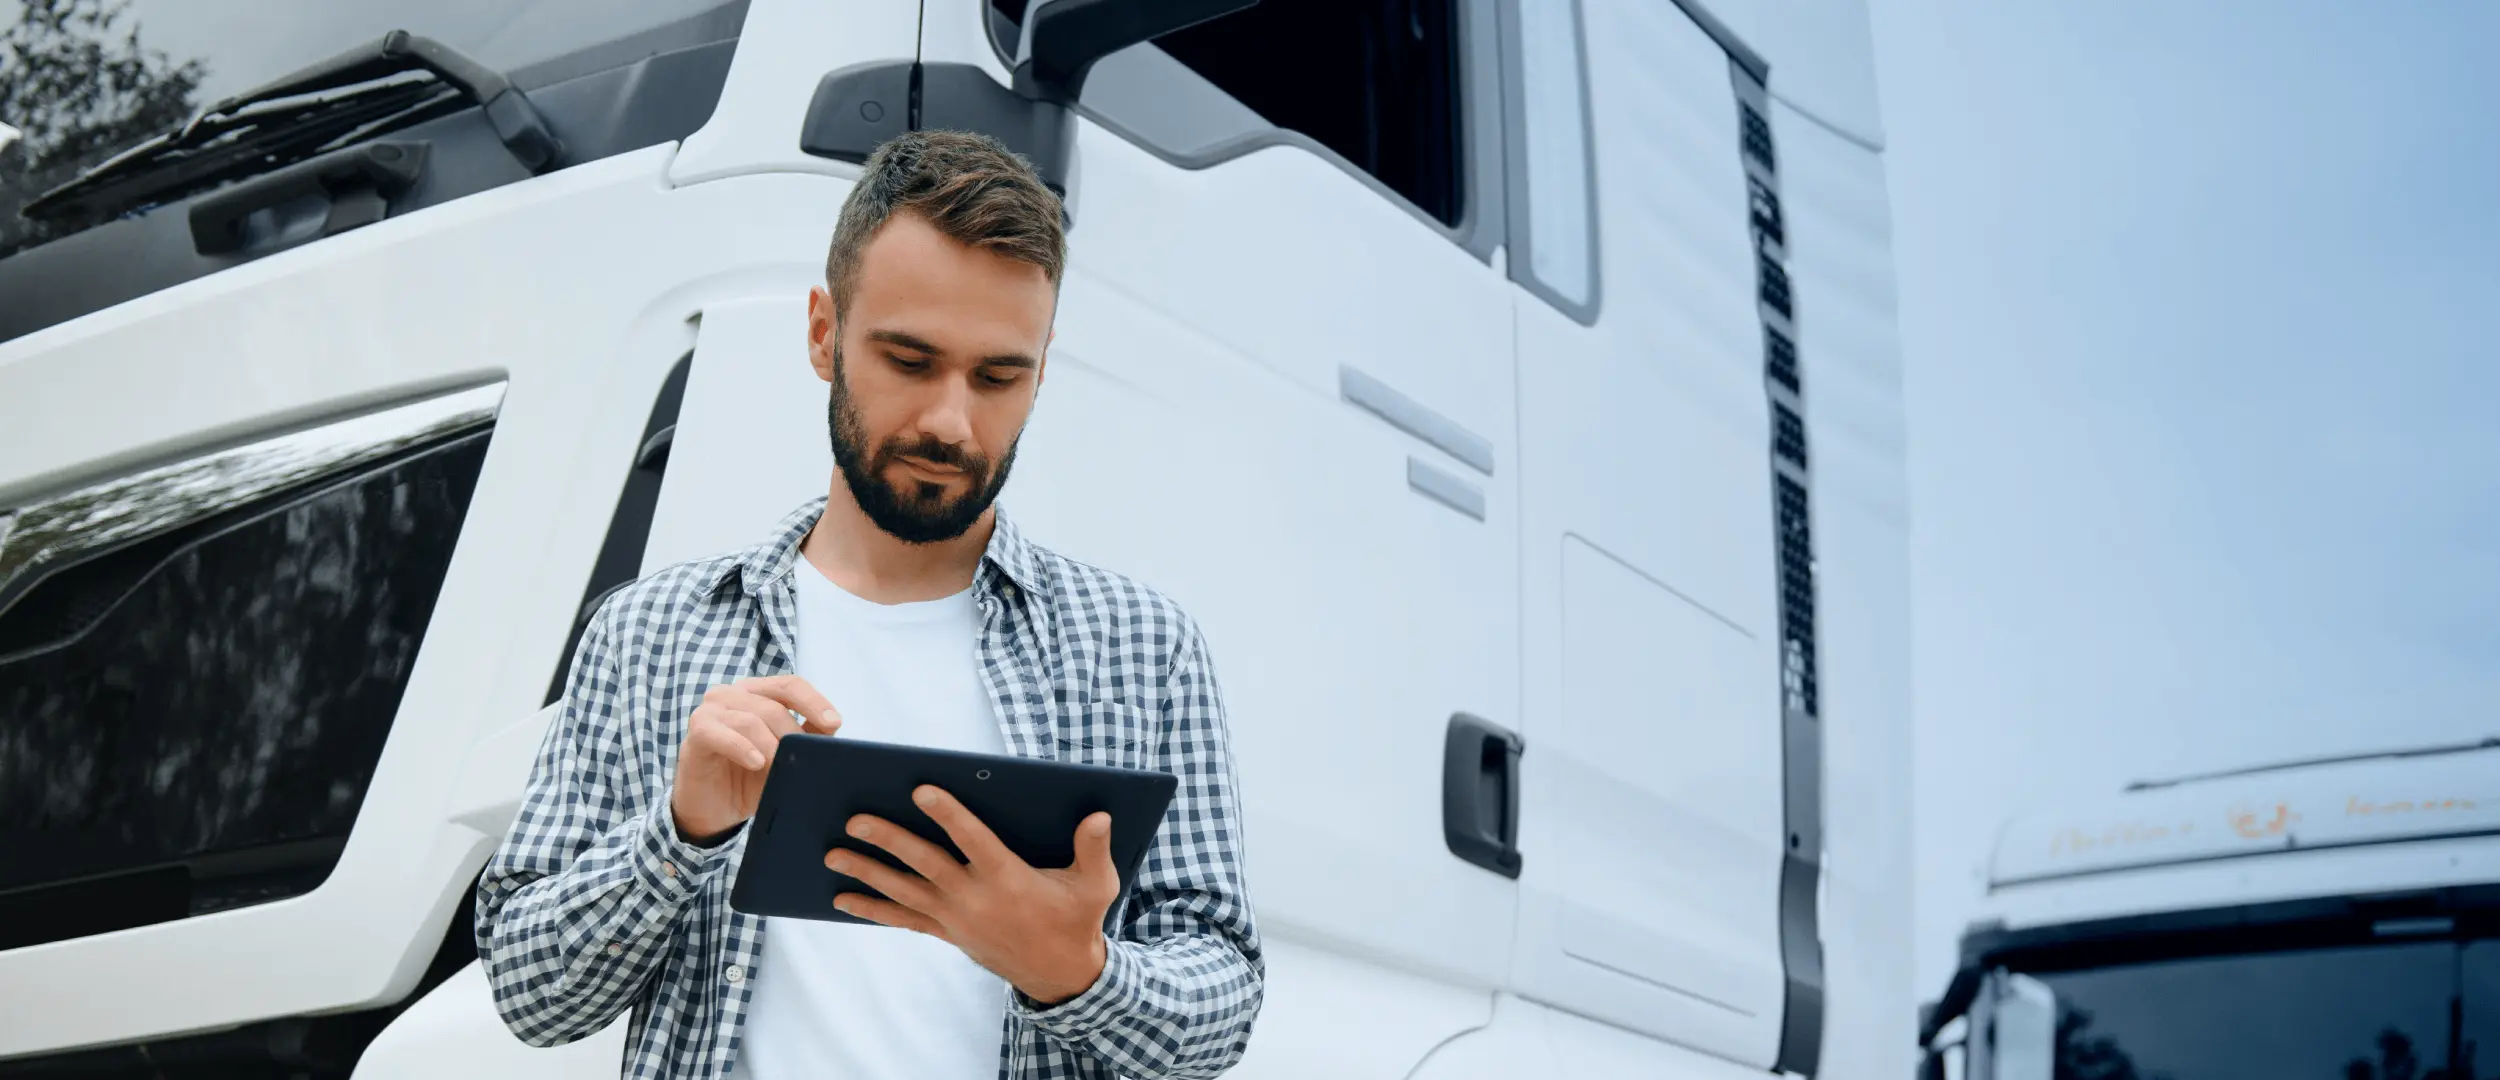
Комплексний посібник з розробки та обслуговування програмного забезпечення для управління автопарком
Готове програмне забезпечення для управління автопарком не було розроблено для вашого автопарку. Воно було створено для всіх — і це саме проблема.
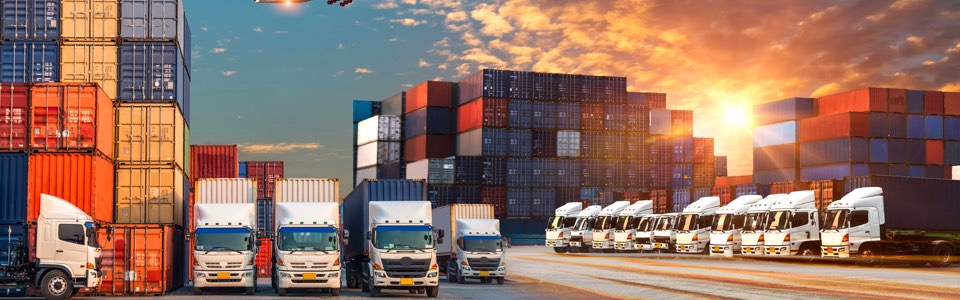
10 найпоширеніших ризиків у ланцюгах поставок і як їх уникнути
З 2026 роком на горизонті, геополітика є найбільшим загрозою для глобальних ланцюгів поставок. Війни та політична нестабільність порушують торгові маршрути та ускладнюють логістику по всьому світу.

5 найкращих програм для диспетчеризації вантажних перевезень
Протягом останніх років галузь вантажоперевезень зіткнулася з численними викликами. Від пандемії COVID-19 та пов'язаних з нею обмежень через зменшення обсягів перевезень і зниження тарифів

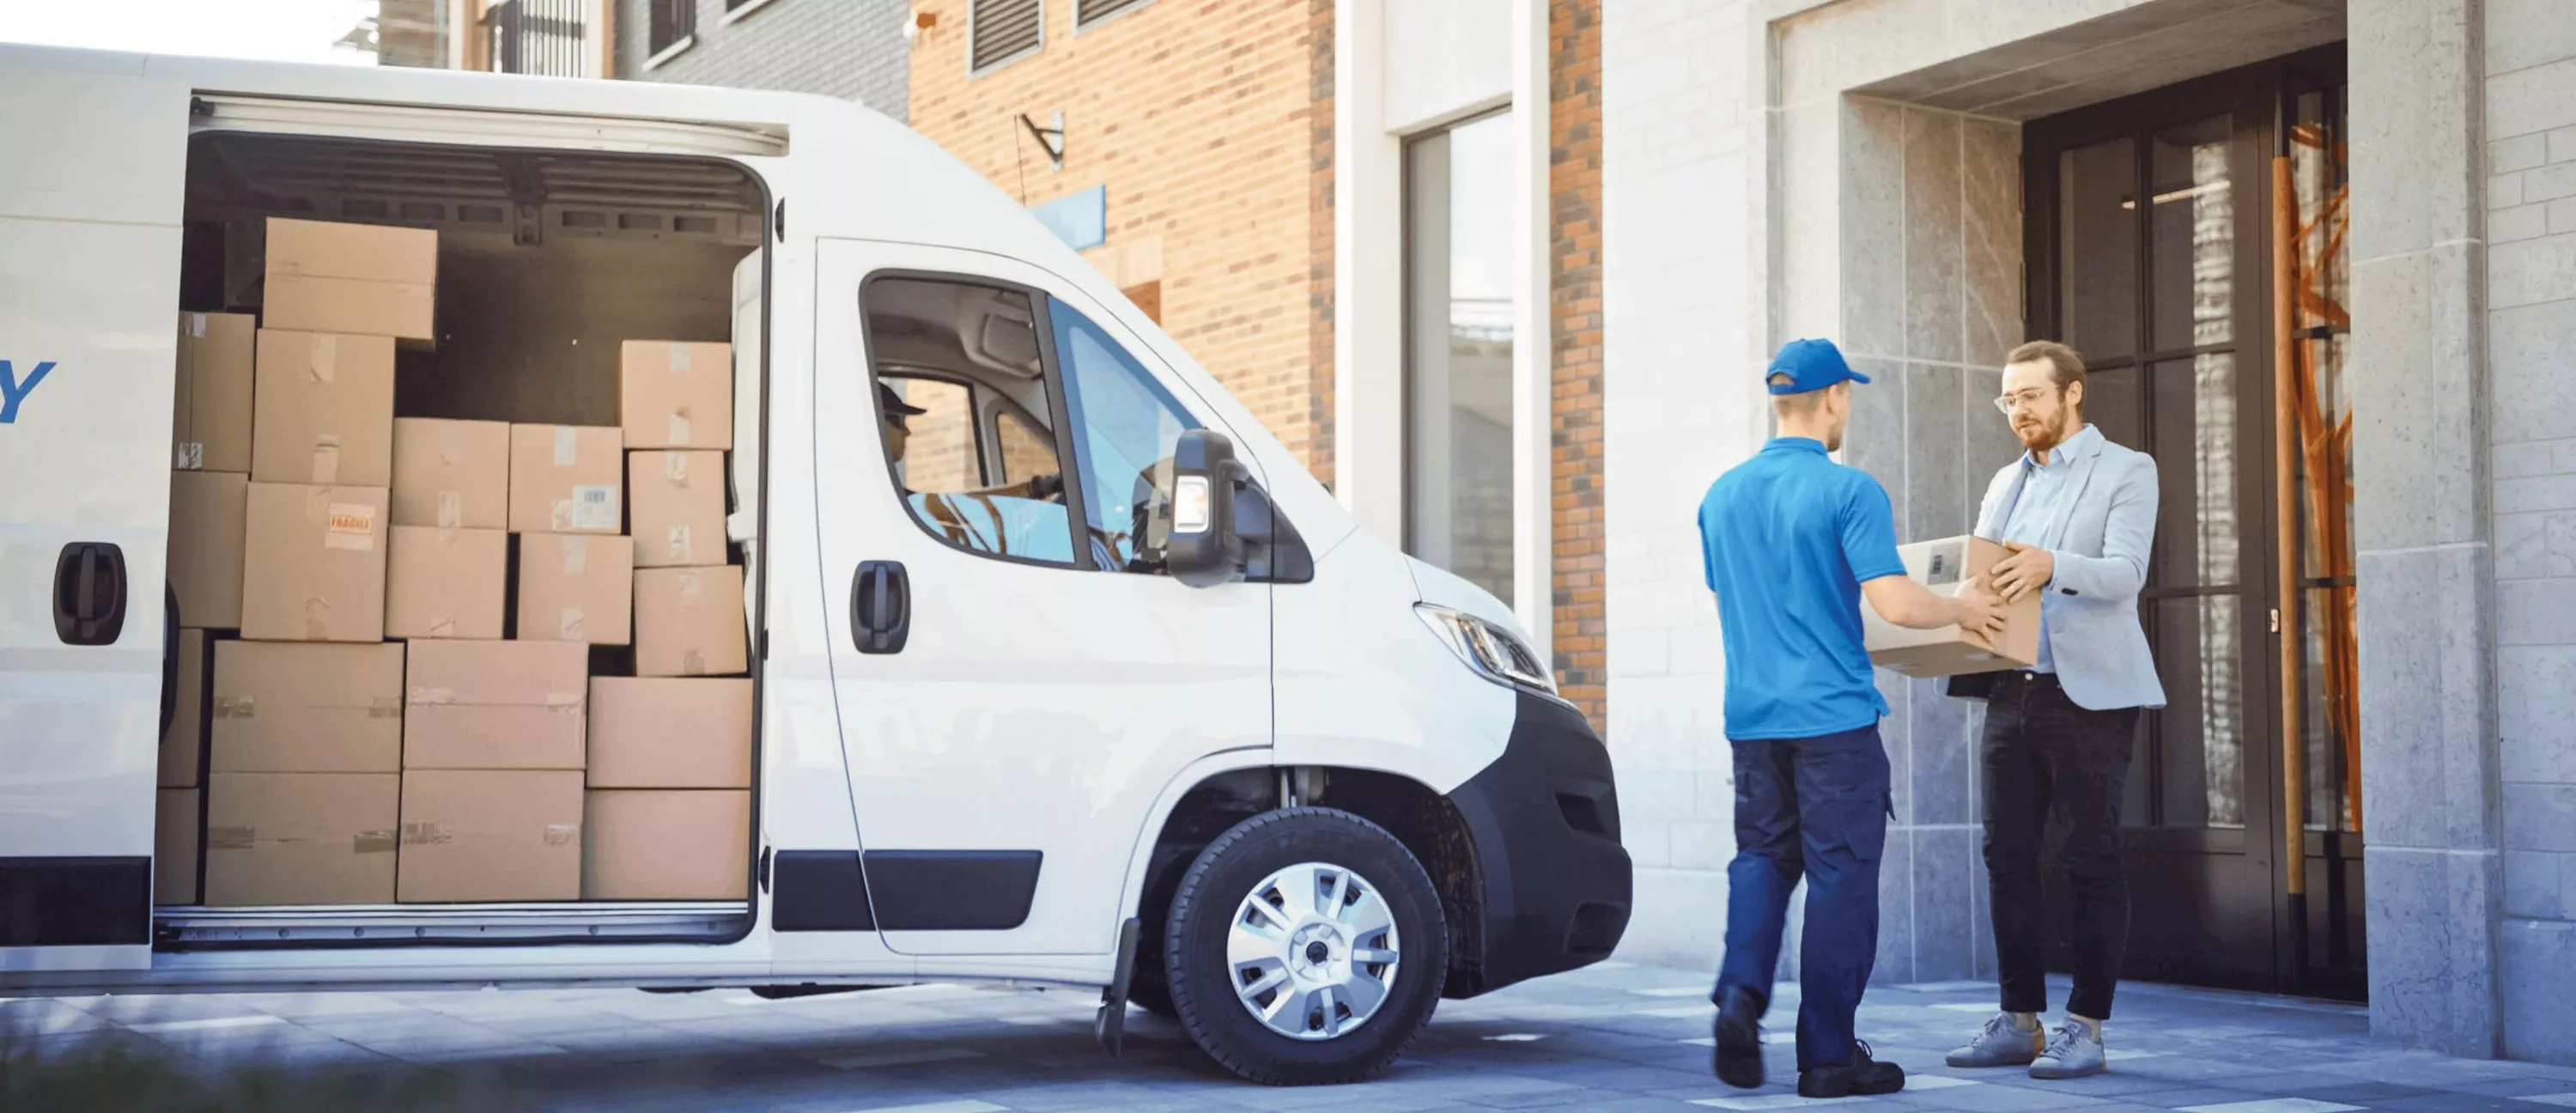
Покроковий гайд із розробки додатку для доставки посилок на вимогу
Дуже важливо подумати про те, як розробити рішення для задоволення потреб користувачів, залишаючись конкурентоспроможним на ринку, коли ви плануєте створити додаток для доставки посилок.
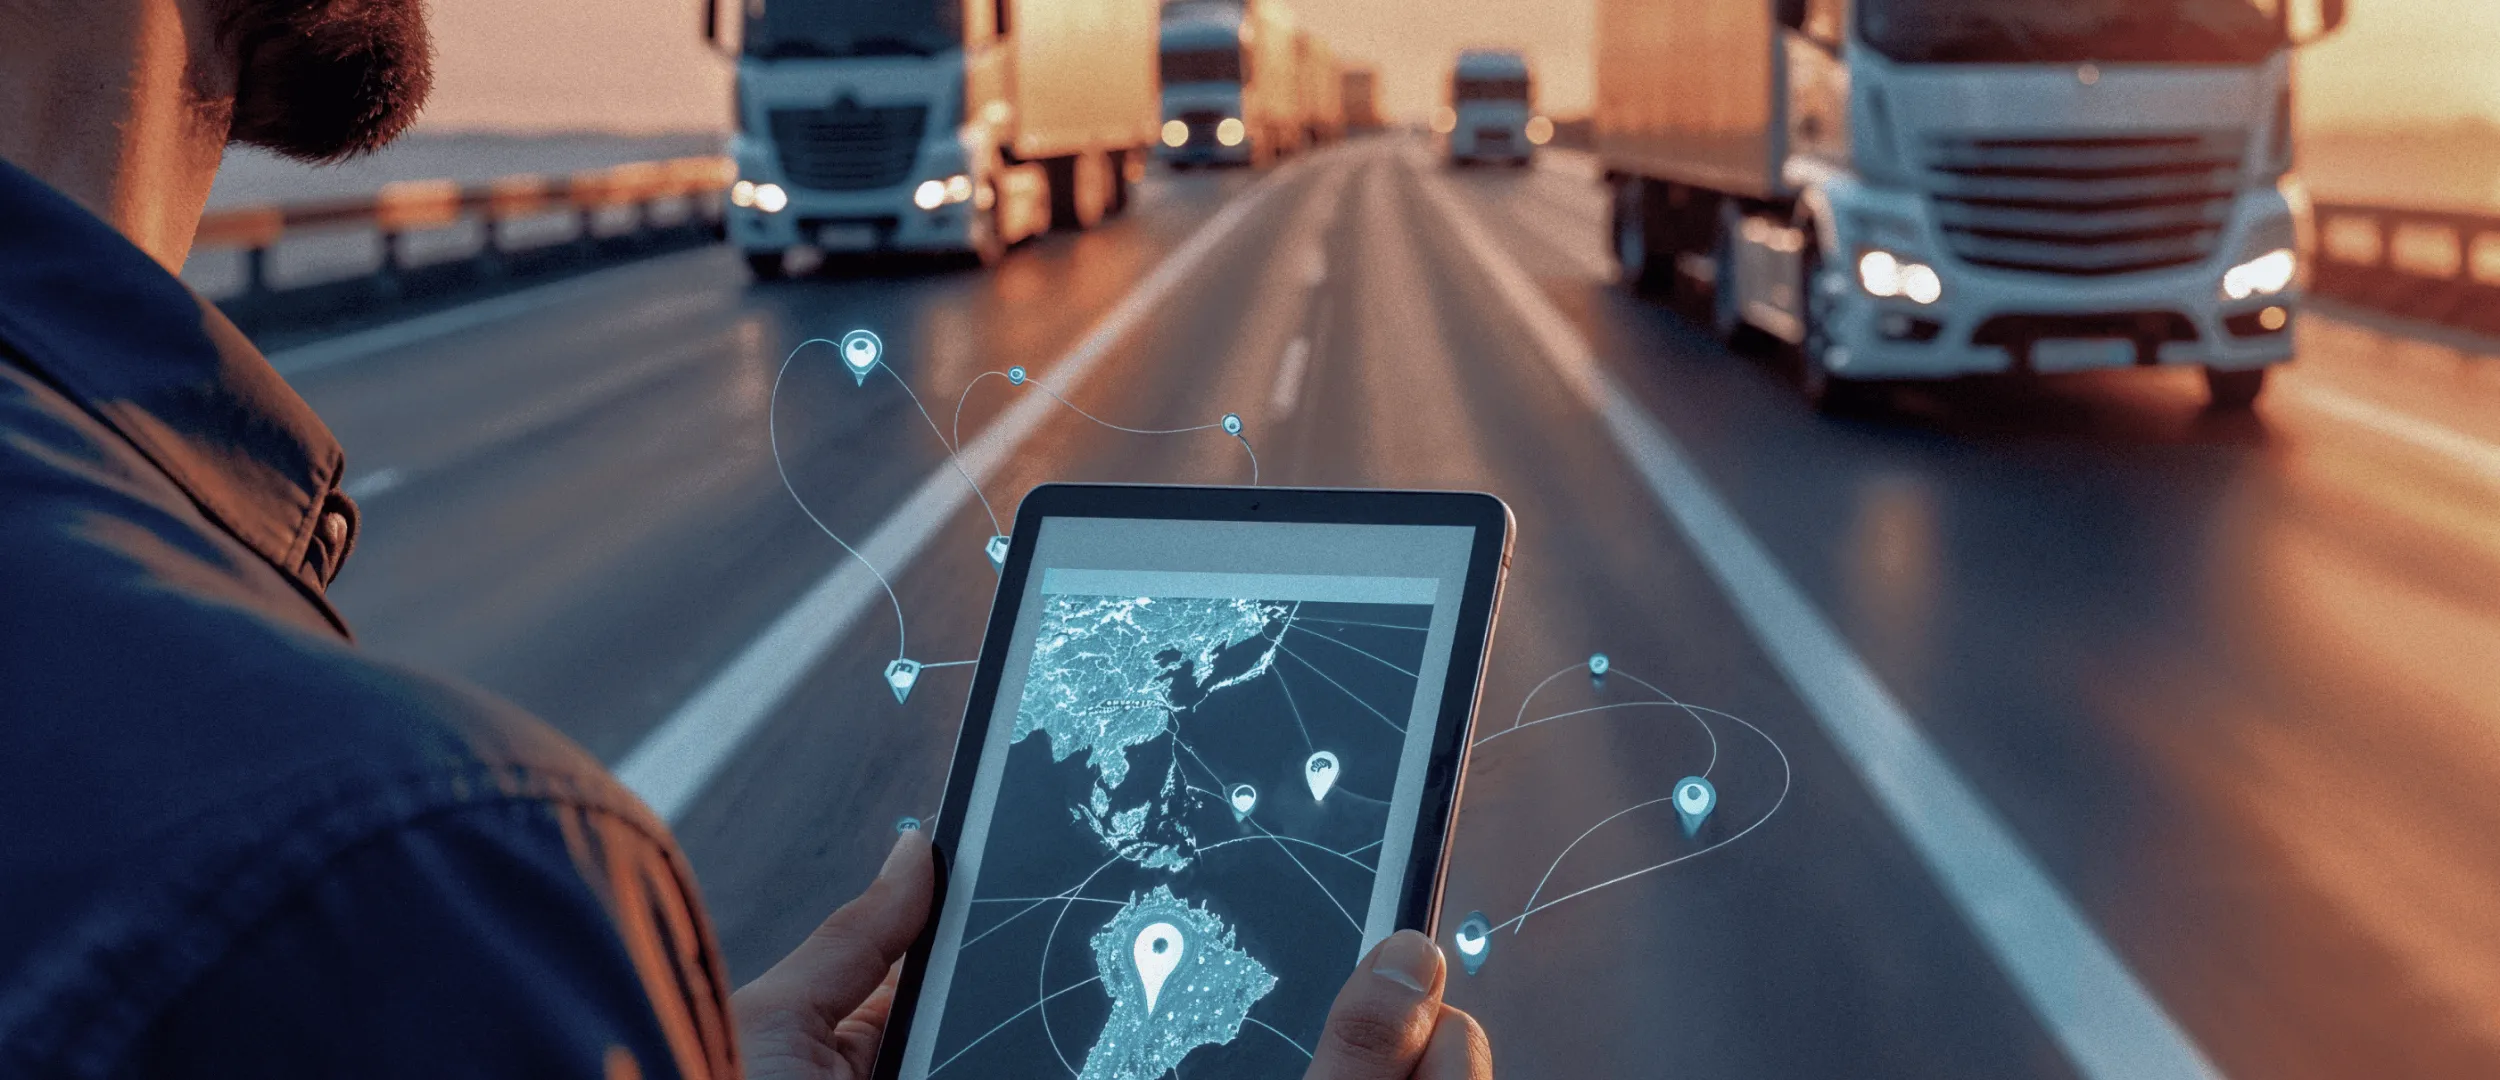
9 ключових трендів транспортної галузі у 2025 році: майбутнє вантажоперевезень
У цій статті ми дізнаємося, які тренди трансформують перспективи транспортної галузі, цікаву статистику та які майбутні виграшні стратегії приведуть всю транспортну сферу до успіху.
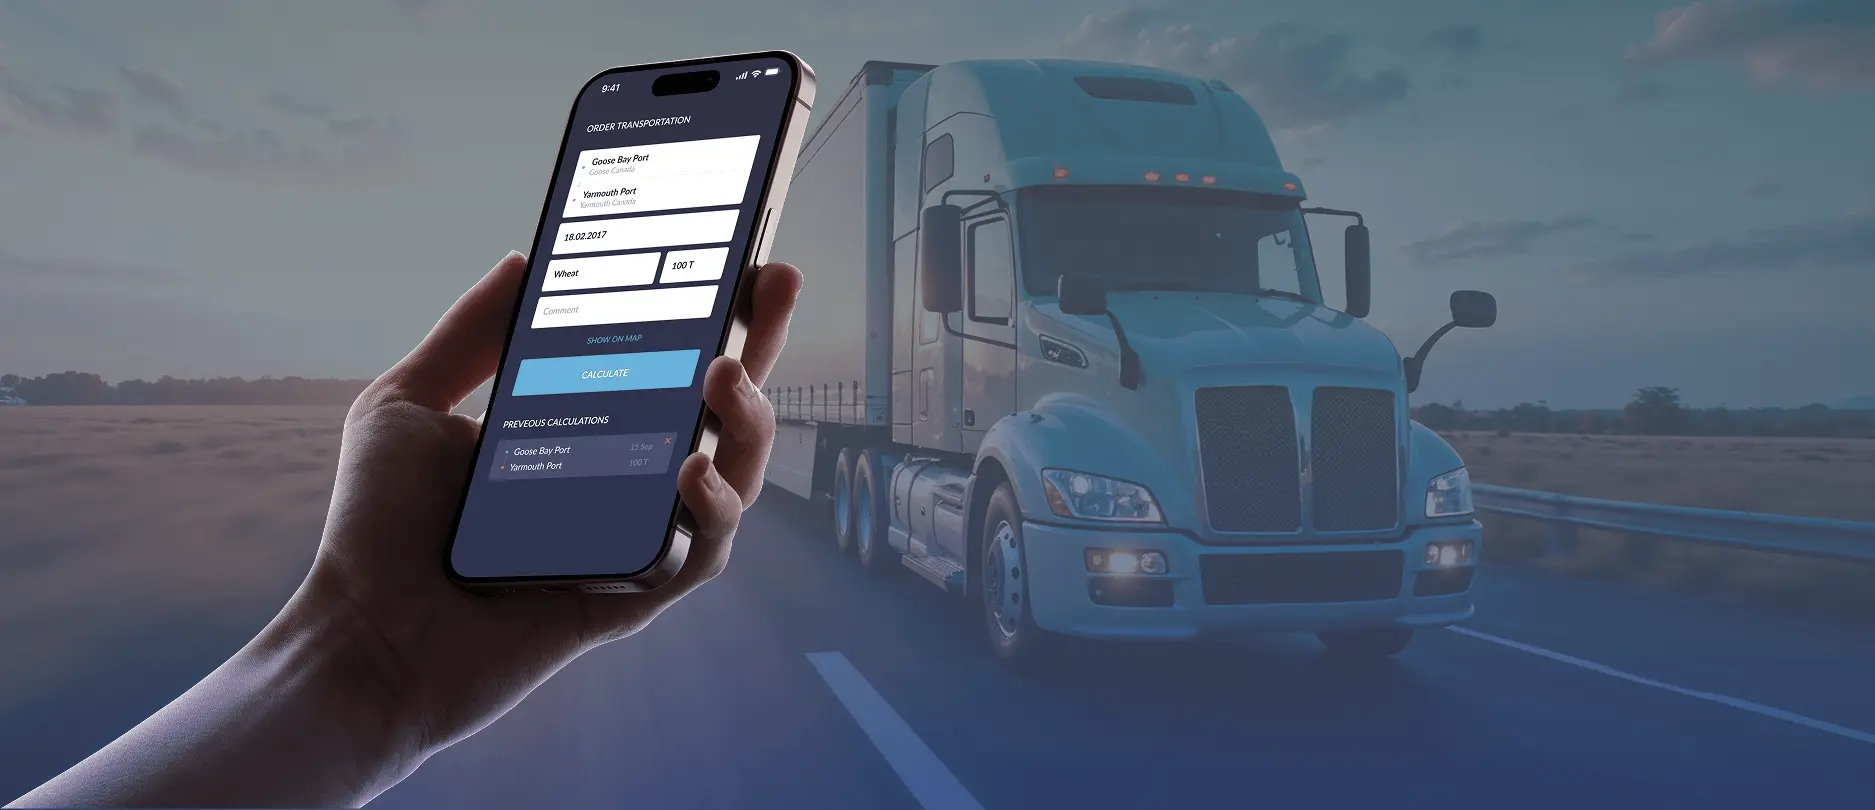
Як створити кастомізовану TMS систему для оптимізації логістики: процеси, етапи
Готові платформи TMS часто обіцяють гнучкість, але спробуйте адаптувати їх до вашого бізнесу, і ви швидко зіткнетеся з труднощами. Диспетчери знаходять обхідні шляхи.
Топ-7 систем управління транспортом у 2025
Незалежно від того, наскільки великий ваш бізнес і як довго ви працюєте на ринку, рік за роком ви будете задавати собі одні й ті ж питання, як і кожен власник бізнесу.

Як створити індивідуальну систему управління замовленнями (OMS): витрати, етапи та функції
Розглядаєте можливість створення системи управління замовленнями (OMS)? Тоді ви, напевно, знаєте, що є два варіанти: купити готове рішення (корпоративні варіанти, такі як IBM Sterling OMS, або ніші, такі як Zoho Inventory)
Як створити логістичну платформу типу Uber Freight: функції, етапи розробки та вартість
Uber Freight задав сильний орієнтир для цифрових рішень у логістиці, але для багатьох компаній копіювати готову модель недостатньо.

Отримайте частку з ринку в 920 млрд доларів з розробкою додатка для доставки їжі
Індустрія доставки їжі є відносно молодою, можна сказати, що вона тільки починає розвиватися. Перші онлайн-меню з'явилися 20 років тому і пройшли шлях до мобільних застосунків, які надають свої послуги доставки.
Розробка додатку для доставки: Як створити успішний додаток на замовлення
У сучасному швидкоплинному світі зручність є головним пріоритетом. Нічого не ілюструє це краще, ніж зростаючий попит на додатки для доставки.
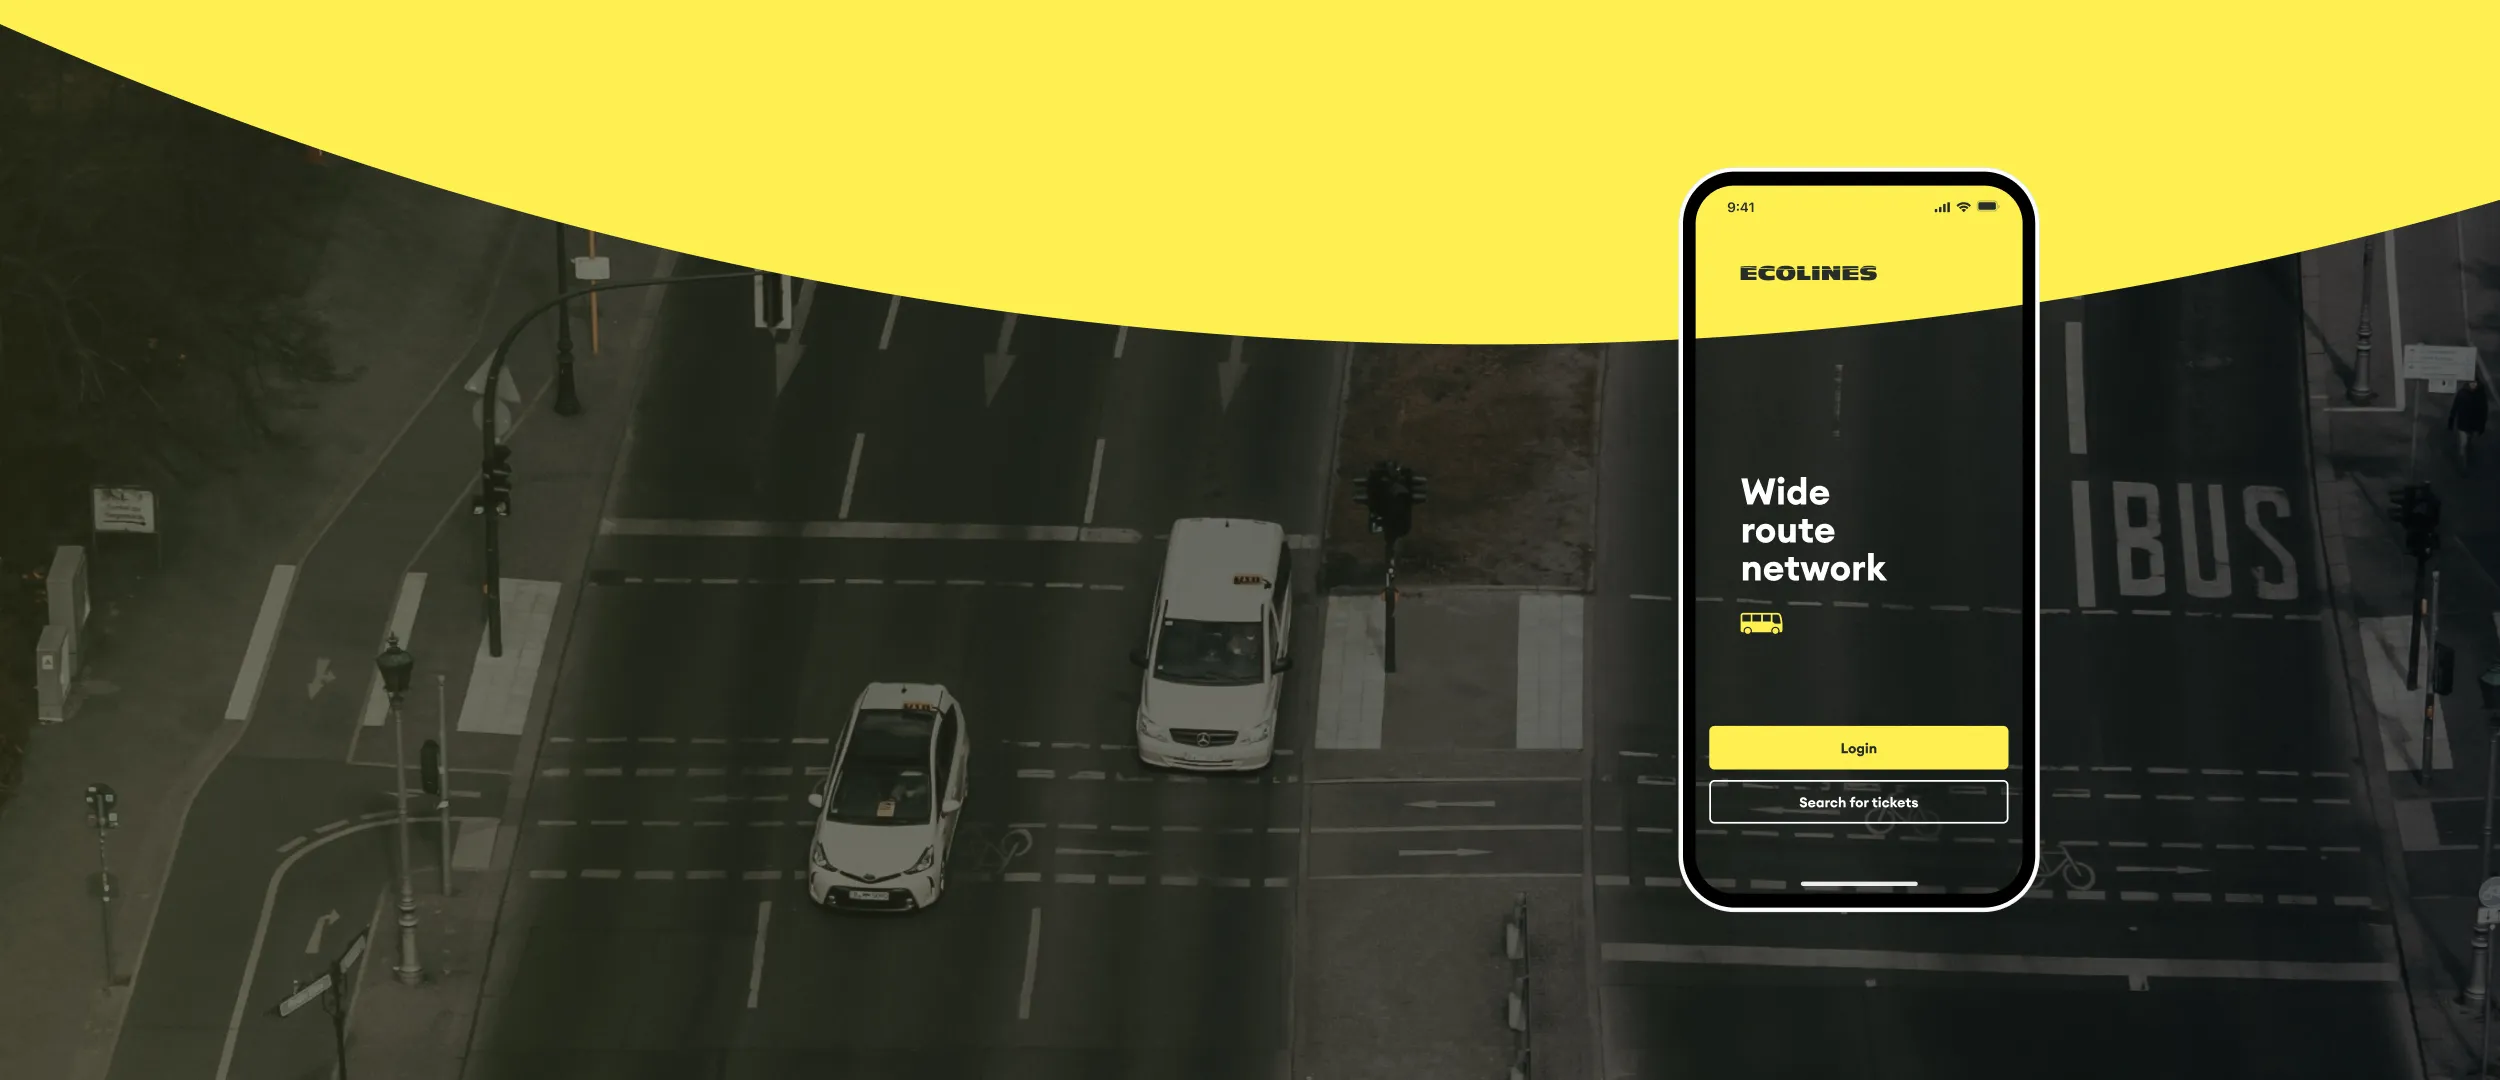
Розробка додатку для бронювання автобусних квитків: ключові компоненти, інтеграція, вартість
Мандрівники ненавидять стояти в чергах або мати справу з паперовими квитками. Незалежно від того, чи це літак, потяг або автобус, люди очікують, що зможуть забронювати квитки кількома дотиками на своєму телефоні.

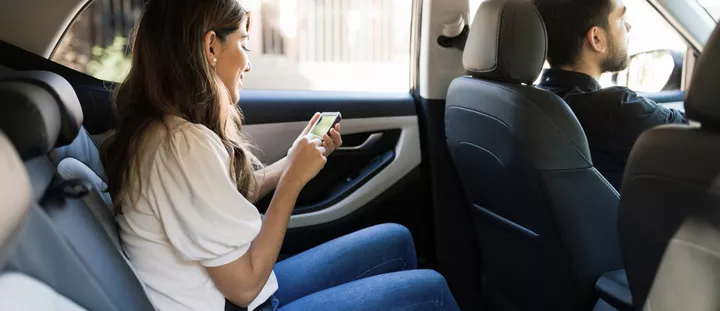
Розробка застосунку для таксі: етапи, функції, вартість і помилки
Коли InDrive вийшов на ринок, здавалося, що після Uber, Bolt і Lyft на ньому не залишилося місця. Але завдяки чіткій бізнес-моделі та сфокусованому, гнучкому продукту компанія зайняла свою нішу і масштабувалася.
Платформа райдшерингу: розробка, функції та вартість
Райдшеринг у 2026 році — це вже не експеримент, а частина міської транспортної інфраструктури. За оцінками Mordor Intelligence, сегмент shared mobility зростає приблизно на ~17% CAGR до 2031 року.

Як створити додаток для доставки їжі по типу Postmates: Покрокова інструкція
На щастя, з появою різноманітних додатків для доставки їжі, зокрема Postmates, обіди стали справжнім переворотом. Лише кілька разів доторкнувшись до свого смартфона, ви можете отримати їжу, доставлену до вашого порогу.
Розробка логістичних рішень з генеративним ШІ
Допомагаємо транспортним і логістичним компаніям масштабуватися швидше: